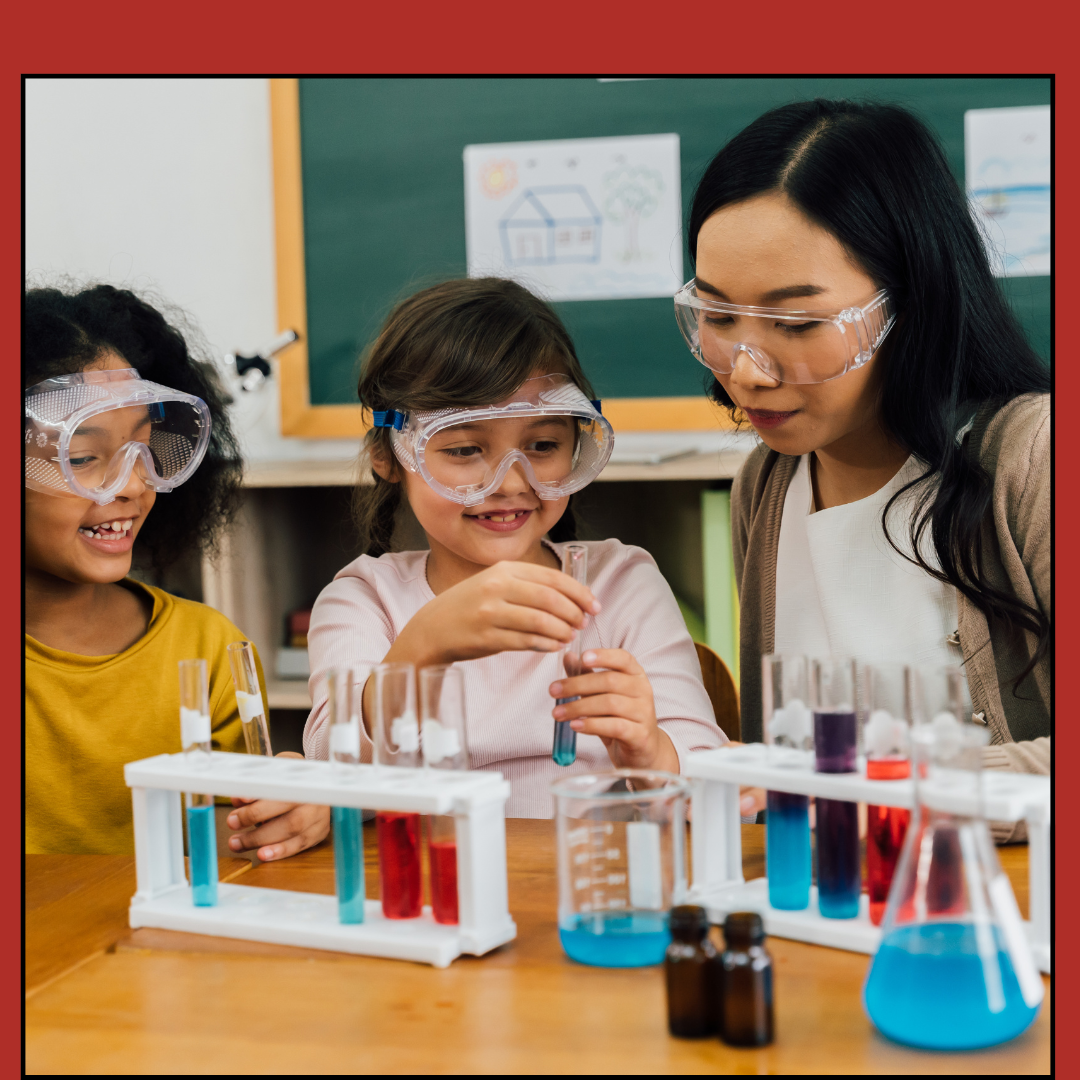
Science safety doesn’t have to be a long list of rules that students memorize. In fact, I think it’s much more effective when safety becomes part of the way we do science every day.
If you’re looking for 2nd grade science safety lessons and activities, here are some practical ideas to use in your classroom.
Table of Contents
Why Teach Science Safety in 2nd Grade?

The goal of teaching science safety procedures isn’t to make students aftaid of experiments. Instead, we want students to understand that scientists use safety rules to help investigations run smoothly and protect themselves and others.
Second graders are naturally curious. They want to touch, test, observe, build, pour, measure, and investigate just about everything!
That curiosity is exactly what makes science so much fun… but it also means students need clear expectations before they begin working with science tools and materials.
It is important that students are able to identify, describe, and demonstrate safe practices during classroom and field investigations.
That last word, demonstrate, is important.
Students shouldn’t simply be able to tell you that they should walk during an investigation. They should actually walk safely while carrying materials.
They shouldn’t simply be able to tell you that goggles protect their eyes. They should know when their teacher has directed them to wear goggles and use them appropriately.
Science safety is something students should practice, not just memorize.
1. Start the Year With a Science Safety Lesson

I recommend beginning the year with a dedicated science safety lesson before students begin more involved investigations.
This gives you the opportunity to establish routines and expectations before students are exitedly reaching for materials.
Begin by asking:
“What do you think scientists do to stay safe?”
You may be surprised by the answers! Students will often mention things like goggles, gloves, and lab coats. That’s a great starting point, but there’s so much more to science safety. You can create a list together:
- Listen to directions.
- Use tools correctly.
- Wear safety equipment when directed to.
- Walk carefully.
- Keep materials away from your mouth and eyes.
- Keep your workspace organized.
- Tell the teacher if something spills or breaks.
- Ask questions when you’re unsure.
- Clean up when you’re finished.
- Wash your hands.
I like to emphasize that being a safe scientist is about making good choices.
2. Teach Science Safety Over Two Lessons
Trying to teach every safety rule, vocabulary word, tool, and procedure in one lesson can be a lot for second graders. Breaking your science safety lesson into two days gives students time to learn the rules and then practice applying them.
Lesson 1: Learn the Rules

- What is science safety?
- Why do scientists follow safety procedures?
- Safe and unsafe behaviors
- Safety vocabulary
- Reading about safe science practices
- Students writing about what they’ve learned
Lesson 2: Apply the Rules

- Practice using science tools.
- Participate in science safety stations.
- Act out safety scenarios.
- Solve “What would you do?” problems.
- Complete a simple investigation.
- Practice cleanup procedures.
- Demonstrate safe science behaviors.
This second lesson is especially valuable because students get to show what they know.
3. Teach the “Big Three” Safety Questions

Instead of overwhelming students with a long list of rules, give them three questions to ask before and during an investigation.
1. What am I supposed to do? Students need to listen to the procedure before touching materials.
2. How can I do it safely? Students think about tools, materials, movement, and safety equipment.
3. What should I do if something goes wrong? Students learn to stop and tell the teacher rather than trying to solve an unexpected problem themselves.
You can turn these questions into a simple classroom routine:
STOP -> THINK -> ACT
STOP and listen. THINK about what you need to do. ACT safely.
4. Teach Students How to Use Science Tools
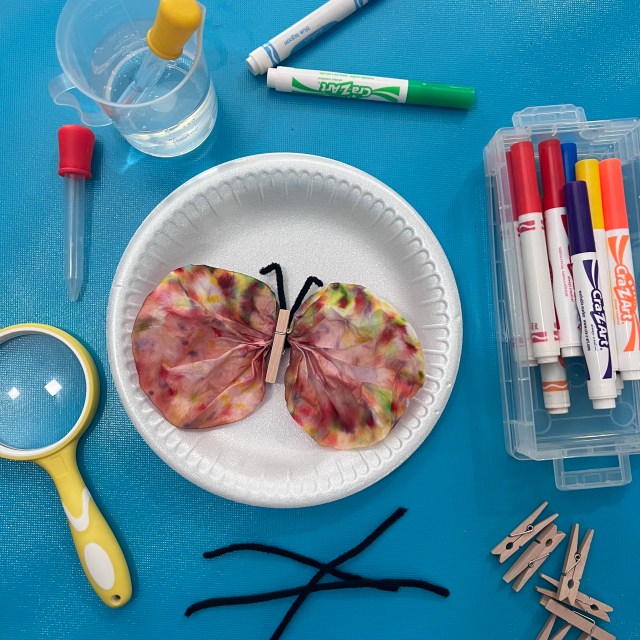
Science safety and using science tools go hand in hand. The current Grade 2 Science TEKS expects students to use appropriate tools to observe, measure, test, and compare. Examples include hand lenses, goggles, trays, cups, beakers, thermometers, ramps, balls, magnets, and other classroom science tools.
Instead of simply showing students a tool and naming it, give them an opportunity to practice using it.
- Hand Lens – Students practice using it to observe an object closely.
- Dropper – Students practice squeezing and releasing the dropper to transfer water.
- Ruler – Students measure an object in centimeters.
- Tweezers – Students practice picking up small objects carefully.
- Tray – Students learn that a tray can help keep materials organized and contained.
5. Make Science Safety Hands-On

One of my favorite ways to practice science safety is to create simple science tool centers. Students can rotate through stations and practice using different tools.
- Hand Lens Station – Students observe objects and record what they notice.
- Dropper Station – Students use droppers to move water from one container to another.
- Measuring Station – Students use rulers to measure classroom objects.
- Magnet Station – Students test which classroom objects are attracted to a magnet.
- Building Station – Students use centimeter cubes to build a structure and measure its height.
These activities don’t have to be complicated.
In fact, simple investigations are often better for a beginning-of-the-year science safety lesson because students can focus on learning how to use the tools rather than trying to understand a complicated scientific concept at the same time.
To read more about other hands-on science units, click here!
6. Teach Students What to Do When Something Goes Wrong

This is one of the most important parts of teaching science safety procedures. Students need to know that sometimes things don’t go exactly as planned.
- A cup may spill.
- A tool may break.
- A material may fall.
- A student may not understand the next step.
Instead of telling students simply, Be careful,” give them a specific response. Teach:
STOP -> DON’T TOUCH -> TELL THE TEACHER
7. Make Cleanup Part of the Investigation

Don’t treat cleanup as something that happens after science.
Cleanup is part of science safety. Teach students a consistent cleanup routine.
CLEANUP CHECK
- Put tools away.
- Return materials.
- Clean your workspace.
- Check the floor.
- Wash your hands.
- Wait for your teacher’s directions.
You can even assign classroom jobs:
- Tool Manager
- Materials Manager
- Cleanup Scientist
- Recorder
This gives students ownership while helping the investigation run more smoothly.
8. Keep Science Safety Visible All Year

Once you’ve taught your science safety lessons, don’t put them away. Keep your safety rules visible in your classroom. A simple chart might say:
BE A SAFE SCIENTIST!
- LISTEN to directions
- PROTECT yourself with safety equipment when directed.
- USE tools correctly.
- WALK carefully.
- ASK when you’re unsure
- TELL the teacher about problems.
- CLEAN you workspace.
- WASH your hands.
Or create a “Science Safety Agreement” like the one pictured above. Have the class review important safety rules as you write them on the agreement. You can even leave an area at the bottom of the poster for all the students to sign. Post the “Science Safety Agreement” and review it before you begin science investigations throughout the school year.
Science Safety Resources for Your 2nd Grade Classroom

If you’re looking for a ready-to-use resource to teach this topic, a 2nd Grade Science Safety Unit can include everything you need to introduce and practice these important skills:
- 2 science safety lesson plans
- Science safety reading passages w/comprehension questions and vocabulary matching
- Science safety vocabulary posters and cards
- Fill-in-the-blank worksheet
- Safe/unsafe scenario activities
- Science safety extension activities
- Science tool activities
- Hands-on investigation pictures and directions
- Student recording sheets
These activities make it easy to teach science safety procedures while giving students authentic opportunities to use science tools and practice scientific investigation skills.
You’re helping them develop the habits of mind they need to become curious, confident, and responsible scientists.
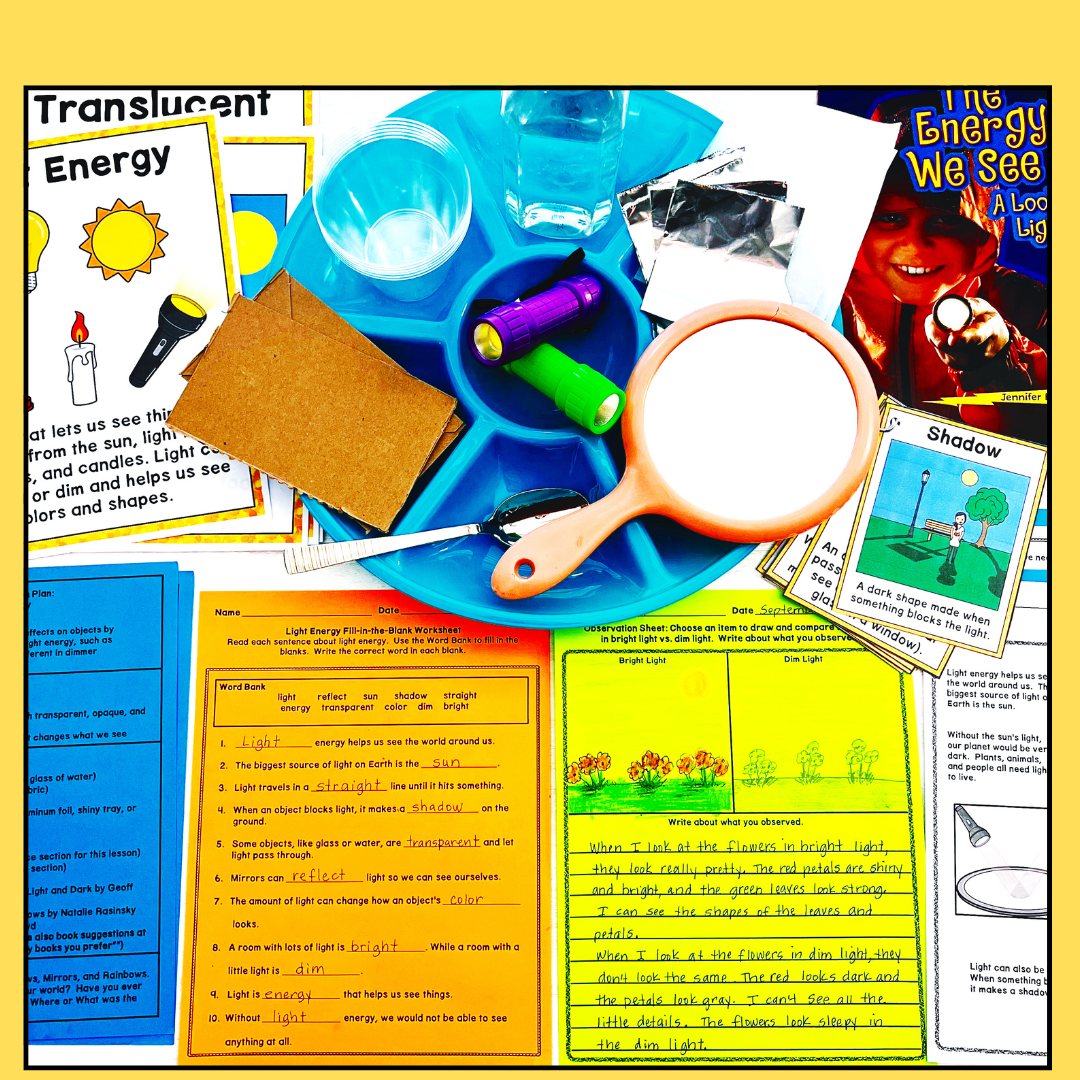
They’ll be ready to begin a year full of exciting investigations like the ones in this Year-Long Science BUNDLE. It’s complete with lesson plans, vocabulary posters and cards, simple investigations, book lists, science reading passages, and extension activities! Just click the button below to see everything included.

















0